Did you know that furnishing your walls with all the elegance that you ever dreamt of is achievable?Your walls are just about as close to you as your partner. If they look beautiful and impressive, no matter the stress of the day, you are sure to come home to the most beautiful sight and companion. A wall to which you can look for a smile is an ideal home. Did you know what you need to achieve this beauty and elegance on your wall?
Did you also know that you necessarily do not need to hire or pay someone else to get the job done for you? You only need to possess the ideas. Now, that is why we are here to provide you with the ideas so you can also do it yourself.
Contents
What is masking tape wall paint design
Creating your designs on your walls requires that you are able to properly and creatively design between painted and unpainted areas. To avoid paint stains and splash on the areas not intended to be painted, the masking tape wall paint design is used to cover such areas.
Masking tape wall paint designs, therefore, are adhesive tapes used by painters to mask the parts and portions of a wall which they do not need to paint. The purpose of masking tape wall paint design is to help you create some amazing and professional wall effects.
How do you make wall patterns with tape and paint?
Ideas abound on how to make wall patterns with tape and paint. It all depends on the idea you want to work on and your choice. But below are some of the top designs from painters tape and paint
Stripes and line

Stripes and lines are some of the easiest wall patterns you can achieve with tapes. First lay the base color and stick the tape across the lines as you desire. The lines could be separating different colors. Once pulled out after 24 hours, the lines and stripes would be revealed in all their shines.
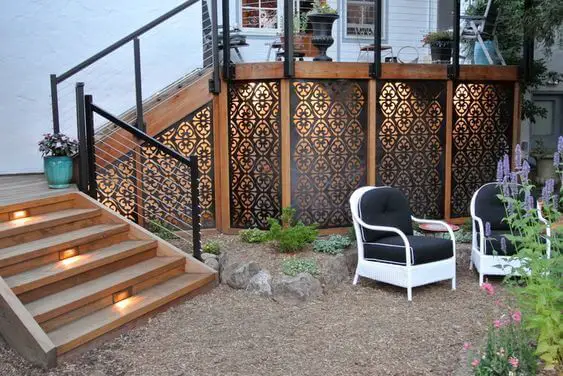
Shades and color blocks


Another way to make wall patterns with tape is by color blocks. Through shading squares, you can differentiate angles or isolate the different streams into one another. The blocks may carry equal shapes or they vary.
The circle ombre
Begin by drawing a big circle on your wall and use the masking tape to lap over the circle, and lay your paint. The circle ombre is one of the easiest ways to create wall patterns with tape and paints
The triangle pattern

The triangle pattern is one of the easiest ways to make designs using masking tape. It usually comes with a combination of colors, each taking up each triangle. The triangle pattern might take a little longer to complete, the reason being that you just have to wait for each triangle to dry up before mounting the next. Extreme care is taken, however, to avoid a spill of one color into the other.
The vertical stripes

With a little creativity, you can quickly make stripes on walls with painters tape. All you need to do is to choose your colors right and ensure you diligently place your tapes straight. The beauty of vertical stripes wall pattern design with painters tape is its straightness. Aim for this beauty and your work will turn out beautiful.
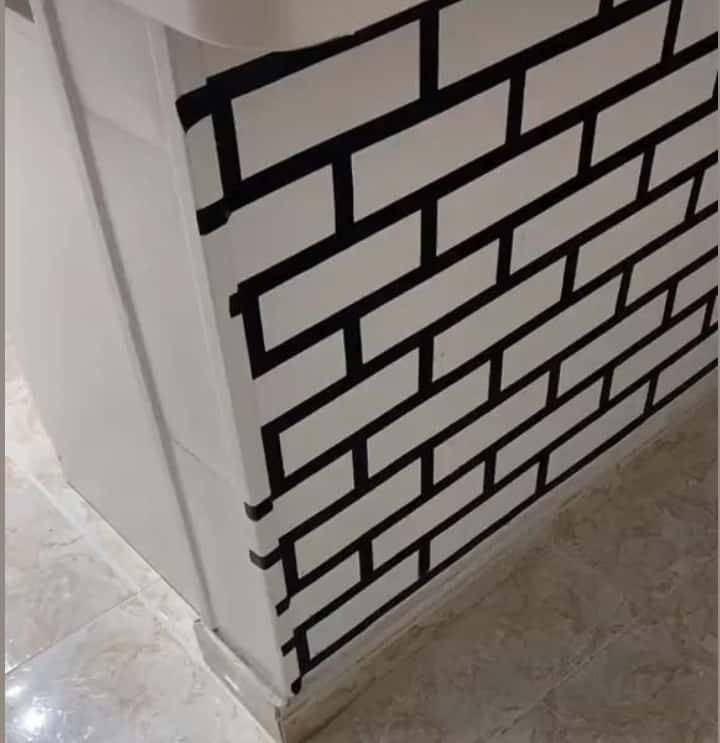
Block
Blocks are some of the ideas that can be created by masking tape and paint. Simply use your masking tape to draw out block lines or shapes of tiles, after the base color has been applied, then remove the making tape to reveal your clean pattern.

How do you design a wall with tape and paint?
To make your wall patterns with tape and paint, take the following step by step processes:
Begin with a base color
The base color is the first color you apply after cleaning up your surface. The base color remains and it is on the base color that you place your wall tape. It is necessary that you allow your base color to properly dry up before proceeding. 24 hours is a good time to allow this drying.
Make your patterns
Making your patterns with tape after the base color has been laid is a creative process. It’s a time to show creativity. You make your patterns just the way you like it by laying or sticking the tape on the wall. Mask the wall into the shape you want and ensure that the masking tapes are straightened out properly.
Layover color
Lay some double tick layers of paint over your mask tape. The layover color has to be different from the base color.
Unmask your tape
The last process is to remove your masking tape after some 24 hours of allowing it to dry. What will be revealed is your brand new patterns showing in all its colors and glory.
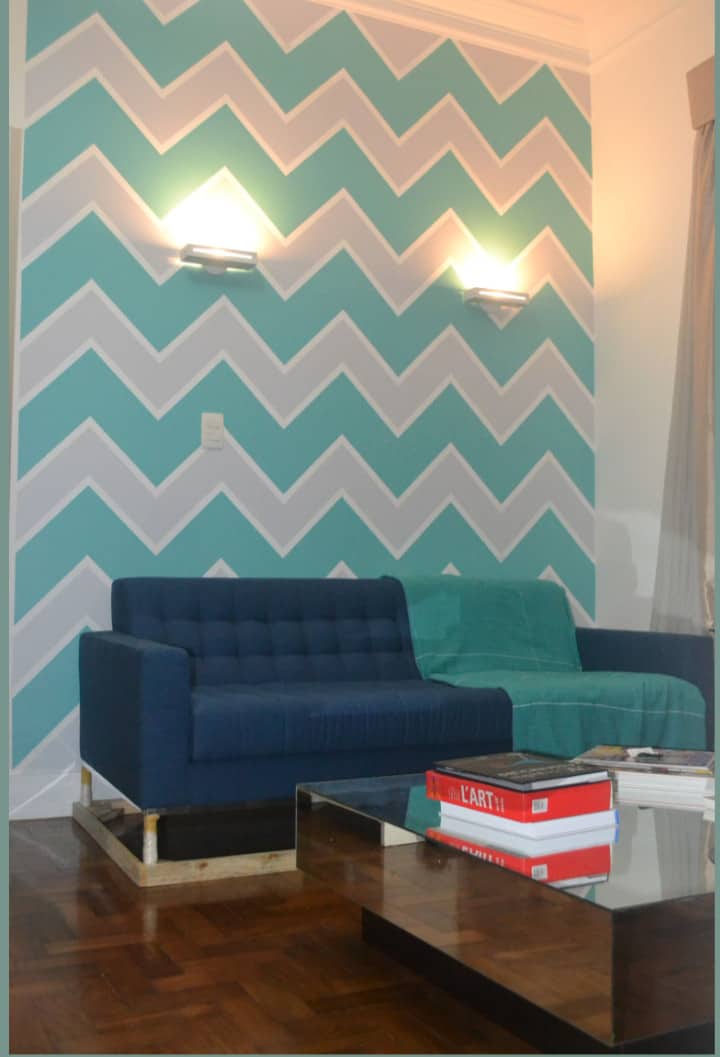
How do you make a chevron pattern with painters tape?
Making a Chevron pattern with painters tape can be a little intricate. But the following procedure can get you right there.

- Choose the side of the wall that you would like your Chevron to appear. It is best to go for the side of the wall that is first seen as you enter the room.
- Decide the color combinations that you would like to use for the Chevron stripe
- Prepare the wall for working by removing and cleaning previous works or scratches on it.
- Paint your base color. Your base color can be any of the two colors you have selected.
- Decide the height you want for the Chevron and how many stripes or bands of the Chevron you want to appear on the wall.
- Decide the width and the bands you want to appear on it too.
- Decide on the angle you want the Chevron pattern to take. 45° is very common for this.
- Draw out your Chevron pattern with pencil from the center of the wall and ensure it remains regular and straight.
- Use the painters tape and begin from the side of the line which you have already painted.
- Apply pressure on the tape across all the intersections
- Trim the intersections and ensure a clean cut
- Begin your painting over the tapes from the edge and all across.
- Allow for an hour or two and pill off the tape
- If there are slight mistakes, make some touch ups, and beauty is the outcome.
How do you make a masking tape stencil?
Making a masking tape stencil requires tack and accuracy.
- First, make a choice of the stencil pattern you want.
- Lay a fabric over the choice stencil
- Lay a piece of wax paper on the fabric and make tracing of the the pattern with a tracer or marker
- Mask the edges of the wax paper material with a painters tape
- Be diligent in cutting out the painters tape to reveal the patterns
- Carefully remove the wax paper, placing them on the canvas
- Paint moderately, being careful with the edges of the painters tape
Conclusion
There are many designs that you can use the painters tape wall paint ideas to create. You simply have to show creativity. There are no limitations. However, you simply need to follow the step-by-step guides on how to get it right. These guides are what we have been able to provide you in this article so that you are able to achieve your dream designs